As usual, depending on the environment upgrading Cacti can be quick or hard but can be done on any linux system. I’ll take you through the steps using VMware to safely update the system to a newer version.
Table of Contents
Backing Up Cacti
Backup Using Vmware Snapshots
Use the VMware ESXi or vCenter snapshot function to perform a snapshot level backup of the virtual machine. Running this before you continue on with any of the next steps will allow you to revert the system back to a working state in case anything goes wrong. Optionally, you can stop the poller and make a MySQL backup.
Backup using MySQL and the Cacti directory
To stop the Cacti poller and perform a MySQL database backup you’ll need to proceed with the following steps.
- Open Cron
crontab -eand put a # in front of the /cacti/poller.php entry. Your Cron may look different which is why I only included the cacti directory and onward. - Next run payamysqldump -u root -p cacti > cacti-backup.sql and enter your MySQL password. After the backup completes verify that it was exported using the ls command.
Both for the snapshot or non-snapshot backup method you will need to move the cacti directory as you will be “installing” Cacti again. To do this, I used this command to move the data to a new folder. mv /opt/cacti /opt/cacti_old
Prepping for the Cacti Install
In this next phase, you will want to download the latest stable release of Cacti using this command wget https://files.cacti.net/cacti/linux/cacti-1.2.26.tar.gz. Download this cacti release under a known location such as /home/user or somewhere that you’ve made note of as you will be using that folder path later. Note that as of this publication, the wget command and url are current. Please, make sure to get the latest copy on Cacti’s website. I’ve provided a shortlink to the download page which can be access by click here – CACTI Download. After downloading the latest Cacti, use the command tar -xzvf cacti-1.2.26.tar.gz. Next move cacti-1.2.26 to your folder location. I believe the new standard is /var/www/ but in my older installation I’m moving it to /opt/cacti folder. Remember to give the folder /cacti/rra and /cacti/log permissions chown -R www-data:www-data /rra /log
Copy the RRA and config file
cp /opt/cacti_old2/include/config.php /opt/cacti/include
cp /opt/cacti_old2/rra/* /opt/cacti/rra
Installing Cacti
Browse to your installation of cacti https://cacti.domain.com/install. If everything is good continue or if you have some failures like I did. Work through those until you have a green thumbs up.
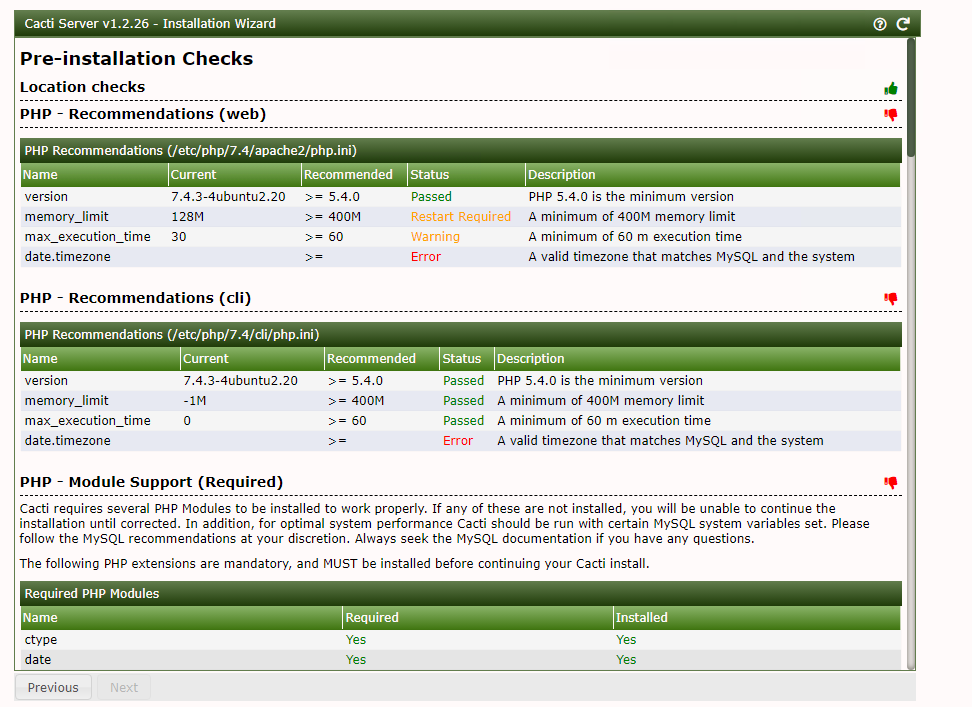
When I have some time to circle around. I’ll follow up with some articles that explain how to fix the errors that I encountered when upgrading to the latest cacti release.
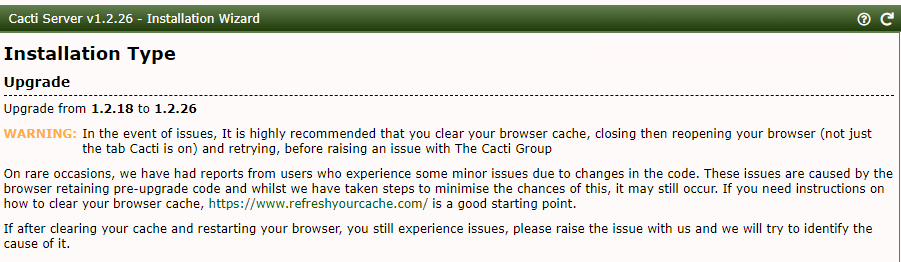
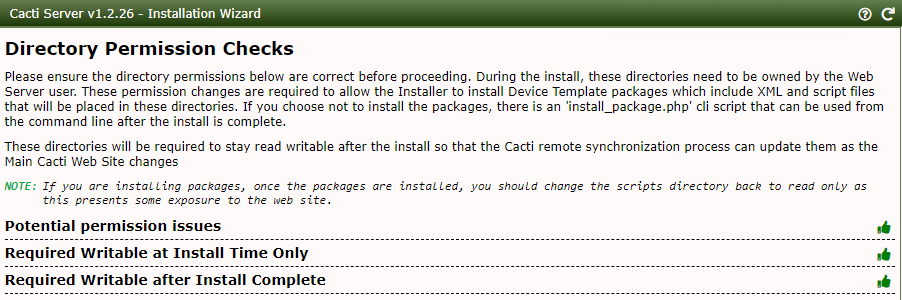
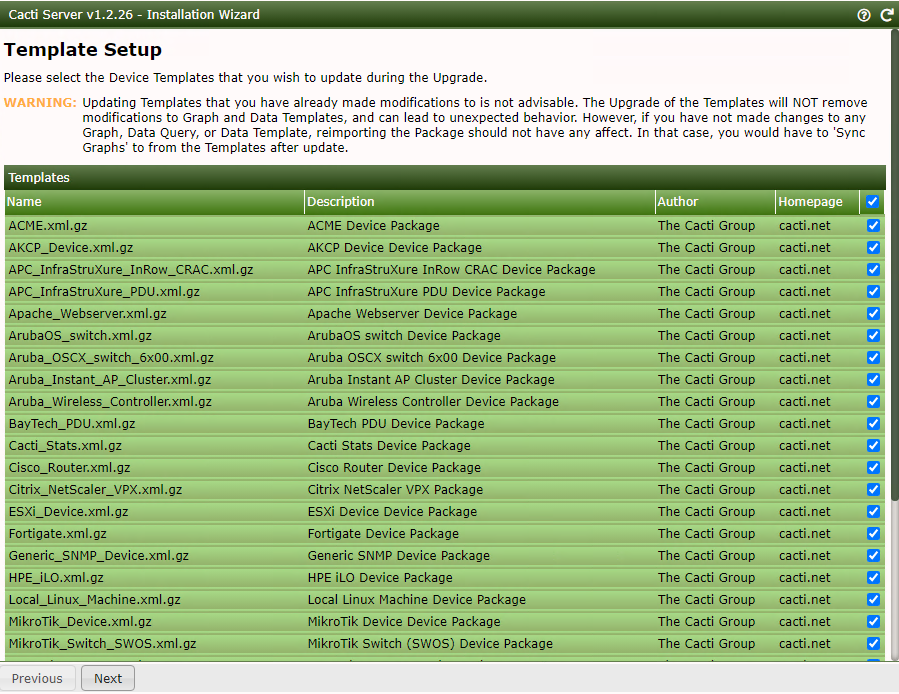
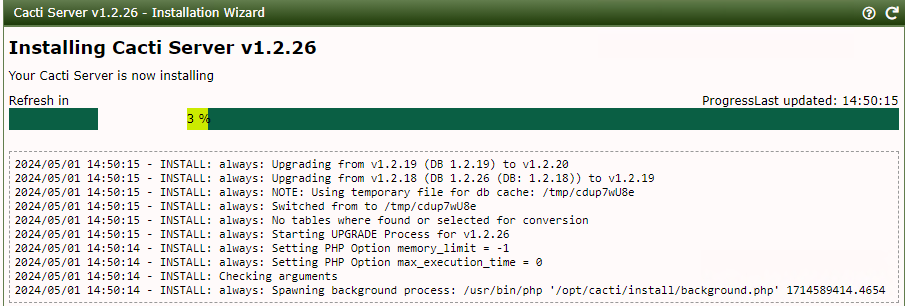
Nearing the end of the Cacti upgrade/install click on the checkbox to upgrade and click next. It will then go through a progress window updating the system
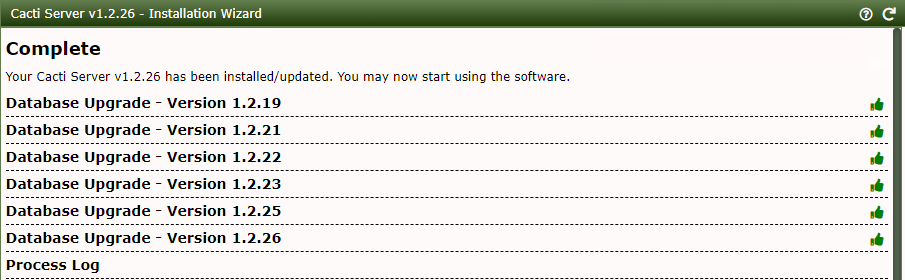
You’ve now completed the update of Cacti. Go enjoy the system now!
Leave a Reply